How to Record Audio on iPhone for YouTube Shorts That Sounds Professional
This article includes affiliate links. We may earn a commission at no extra cost to you.
iPhone audio for YouTube Shorts has gotten complicated with all the conflicting advice flying around. Buy this mic. Use this app. Record in this room. And yet most creators — myself included, for an embarrassingly long stretch — miss the basics entirely and wonder why their watch time tanks. I spent six months uploading Shorts where I sounded like I’d recorded inside a tin can. The numbers told the story. People bail fast when audio feels off, even if they can’t name why. Here’s the thing nobody leads with: your iPhone is already a solid recording device. You’re probably just using it wrong.
This isn’t a gear-buying guide. Most of what’s here costs nothing. Let’s get into it.
Built-In iPhone Audio Is Surprisingly Good — If You Do This
Apple put serious engineering into those little microphones. Embarrassingly serious, actually. The results hold up well when you’re not actively fighting the hardware — which, it turns out, most creators are doing without realizing it. The phone gets treated like a camera that happens to record audio. Flip that mindset around.
Here’s what genuinely moves the needle for built-in recording.
Distance From Your Mouth
Six to eight inches. That’s the sweet spot — not a range you optimize toward, an actual target. Too close and you get plosives, those ugly popping sounds on words starting with P and B. Too far and your voice loses presence, and the room starts to dominate. I held my phone at full arm’s length for months because the framing looked good and couldn’t figure out why I sounded hollow and distant. That was the whole problem. A cheap phone stand — I grabbed a Lamicall adjustable desktop stand for around $13 on Amazon — solved it completely.
Microphone Orientation
The primary mic on most iPhones sits at the bottom, near the Lightning or USB-C port. During Camera app recording, the phone blends multiple mics and runs its own processing over everything. For straight-to-camera Shorts, hold the phone portrait-style with the bottom edge angled slightly toward your mouth rather than pointing straight out. Small tweak. Noticeable result.
Wind Is the Enemy
A ceiling fan is enough to wreck built-in mic audio — found that out the hard way. Record indoors, windows closed. Outdoor filming looks great for Shorts aesthetically, but wind noise will make your built-in audio basically unusable. That’s where the next section stops being optional.
The Voice Memos Option
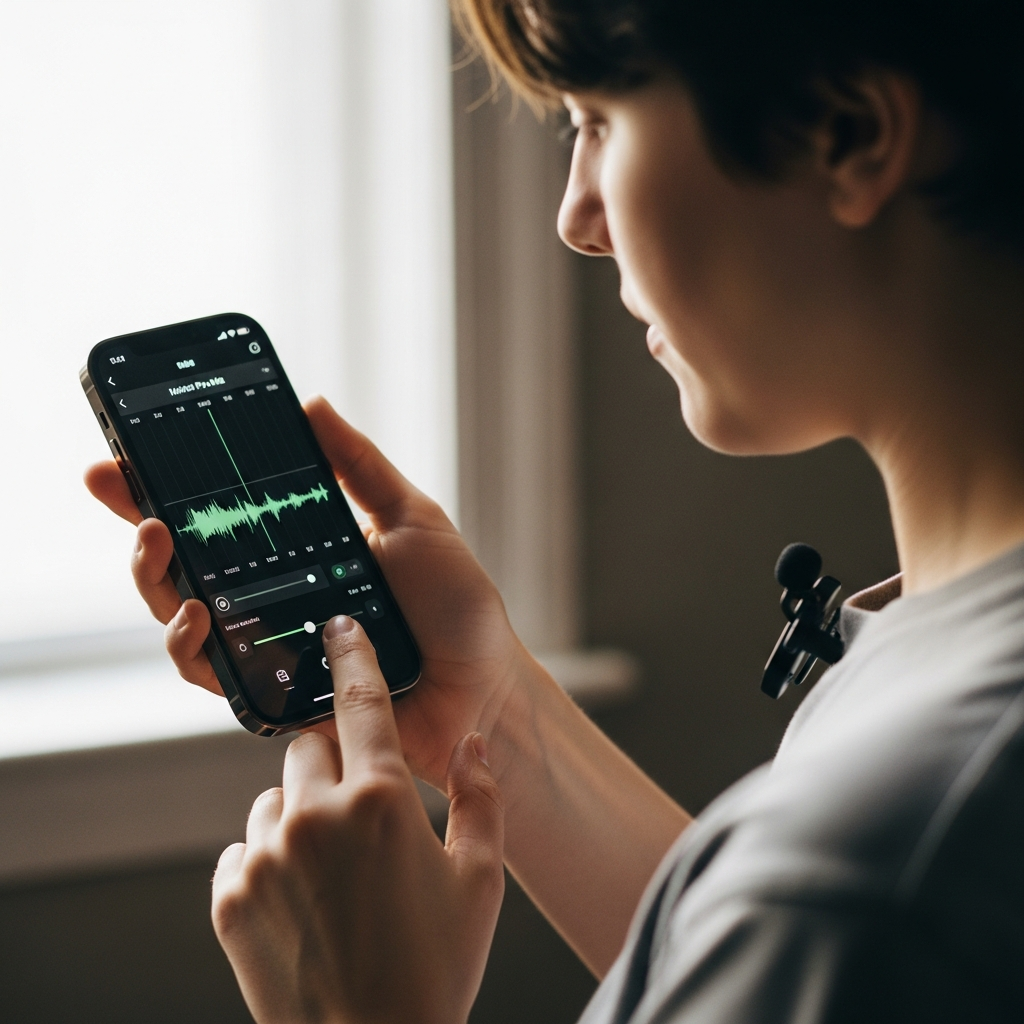
But what is Voice Memos good for, exactly? In essence, it’s a clean audio recorder that skips the Camera app’s aggressive processing. But it’s much more than that — for voiceover Shorts, it’s genuinely the better capture tool. Hold the phone bottom-facing-up, about six inches below your chin. Record there, sync it later. It’s free and already on your phone. More on the syncing part below.
$20 Upgrade — Clip-On Mic for iPhone
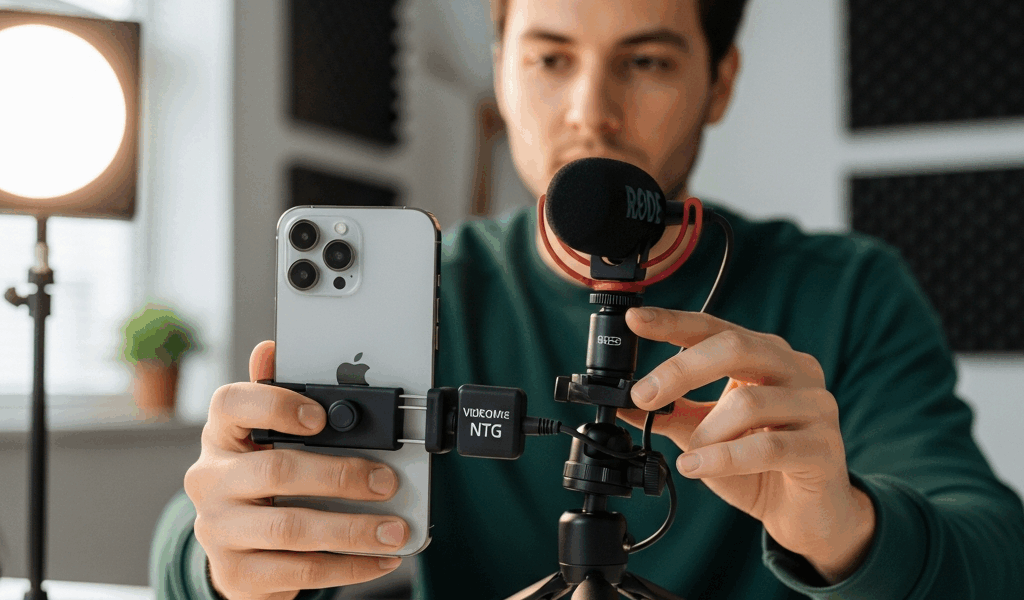
Probably should have opened with this section, honestly. The quality jump is dramatic enough that everything else feels like fine-tuning by comparison. A lavalier — the little clip-on mic — works because it puts the capsule within a few inches of your mouth regardless of where the phone ends up. Camera framing stops affecting your audio quality. That’s the whole game right there.
I bought a Boya BY-M1 for $19.99 after spending months being quietly jealous of another creator’s audio. First test recording nearly knocked me over.
Which Mic to Buy
Check your port before you order anything. Lightning on iPhone 13 and earlier. USB-C on iPhone 15 and later. Wrong connector and you’ve got a paperweight.
- Boya BY-M1 Pro — Around $22, comes in both Lightning and USB-C versions, omnidirectional capsule, 20-foot cable. Good starting point.
- Movo PM10 — About $25, slightly warmer sound than the Boya, clip holds better during movement. Solid for walking-and-talking Shorts.
- Rode Wireless GO II — This is the jump to serious territory at around $299. Wireless, sounds excellent. What I use now. Don’t start here. Start with the $20 option.
How to Clip It Correctly
Clip the mic to your collar or lapel, roughly eight inches below your chin. Run the cable under your shirt if the look bothers you — for Shorts, viewers almost never notice a small clip anyway. Don’t bury it under layers of fabric. Rustling shows up in recordings and it’s annoying to fix in post.
Plug it into the port. Open Camera. The phone switches to the external mic automatically — no settings digging required. Record. Done.
Audio Settings Most Creators Miss
Two specific settings most creators never touch. Both matter depending on how you’re recording.
Noise Cancellation — When to Disable It
iPhones have a phone-call noise cancellation feature — different from video recording behavior, but it bleeds into Voice Memos and certain third-party apps. To find it: Settings → Accessibility → Audio/Visual → Phone Noise Cancellation. For voiceover sessions in a quiet room, turn it off. The processing sometimes flattens the natural warmth in your voice when you’re already in a controlled environment and don’t need the help.
Outdoors or on location? Leave it on. It’s doing more good than harm when there’s real background noise competing with your voice.
Voice Memos Format Settings
Open Voice Memos, tap the three horizontal lines upper-left, then Settings. Audio Quality defaults to Compressed. Switch it to Lossless. You’ll have more to work with in editing, and the file size argument doesn’t hold up for Shorts — a two-minute lossless recording isn’t going to fill your storage.
Room Treatment on Zero Budget
Don’t make my mistake of spending months fighting bad audio in a hard-walled room when a closet was ten feet away. Closets with hanging clothes are legitimately good recording spaces — fabric absorbs reflections in a way bare walls simply don’t. I recorded in mine for four months. Hard floors and bare walls create echo that good mics still pick up. For voiceover sessions, throw a blanket over your shoulders like a cape. Sounds absurd. Works.
Syncing Separate Audio in CapCut or InShot
Recording audio and video separately gives you the best possible quality from each, then you stack them in editing. It’s an extra step — maybe five minutes once you’ve done it a few times — and the results are noticeably cleaner, especially for narration-style Shorts.
The workflow: film video first, then record audio separately in Voice Memos with your lavalier plugged in. Clap once, clearly, at the start of both recordings. That clap becomes your sync point — a DIY version of what a slate does on professional sets. Align the clap spikes in editing and you’re done.
Syncing in CapCut
- Import your video clip to the CapCut timeline.
- Tap the clip, select “Detach audio” — this pulls the camera audio into a separate layer you can mute or delete.
- Tap the plus icon in the audio section and import your Voice Memos recording. Export it first from Voice Memos by tapping the three dots on the recording, selecting “Save to Files,” then accessing it through CapCut’s Files browser.
- Zoom in on the timeline and align the audio waveform’s clap spike with the visual frame where you clapped. CapCut’s waveform display makes this easier than it sounds.
- Play it back and nudge by a frame or two if anything feels slightly off.
Syncing in InShot
- Import your video into InShot and open it in the editor.
- Tap “Music” then “My Music” to bring in your audio file. Export from Voice Memos to your camera roll as an .m4a first.
- Drag the audio clip left or right along the timeline — find your clap in both tracks and align them.
- Tap the video track and drag the original audio volume to zero. Camera audio muted, clean recording in. That’s your finished sync.
That’s what makes this workflow endearing to us low-budget creators — it costs nothing except a few extra minutes and delivers results that genuinely compete with more expensive setups. Good audio on iPhone for YouTube Shorts is a knowledge problem, not a gear problem. Fix the distance. Add the lavalier when you’re ready. The Shorts that hold viewers are the ones where everything feels clean and effortless — audio is half of that, and you’ve already got the hardware sitting in your pocket.



Stay in the loop
Get the latest make video short updates delivered to your inbox.