Video editing has gotten complicated with all the software options and technique tutorials flying around. As someone who has edited thousands of short-form videos across TikTok, YouTube, and Instagram, I learned everything there is to know about what actually makes content perform. Today, I will share it all with you.
Choosing Your Editing Software
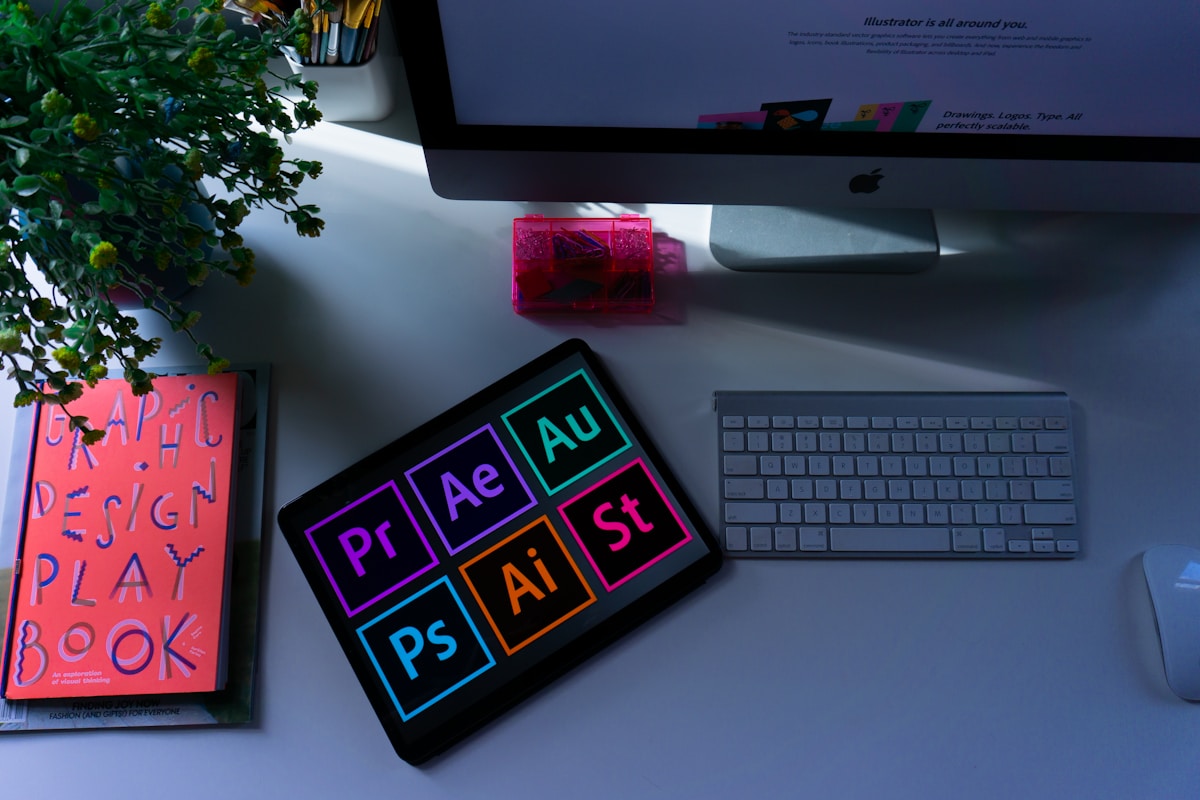
The best editing software is the one you’ll actually use. That’s what makes this choice endearing to us creators—there’s genuinely no wrong answer if you’re producing content. While professional tools like Adobe Premiere Pro and DaVinci Resolve offer the most features, mobile apps like CapCut, InShot, and VN provide everything most creators need.
Desktop Editing Software
Adobe Premiere Pro remains the industry standard. Its integration with other Adobe products and vast plugin ecosystem make it versatile for any project. However, subscription cost and learning curve may be excessive for casual creators.
DaVinci Resolve offers professional-grade editing with an incredibly generous free tier. The color grading tools rival anything on the market. Main drawback: requires a relatively powerful computer to run smoothly.
Final Cut Pro is the choice for Mac users wanting professional features without subscriptions. One-time purchase price is high but reasonable compared to years of Adobe subscriptions.
Mobile Editing Apps
CapCut has become the default for TikTok creators. Intuitive interface, extensive effects library, free price point. The desktop version offers additional features while maintaining the familiar workflow.
VN Video Editor provides more advanced features than CapCut while remaining user-friendly. Multi-track editing, keyframe animations, and professional transitions are available in the free version without watermarks.
InShot excels at quick edits and Instagram-specific features. While less powerful, its simplicity makes it perfect for creators needing fast turnarounds.

Fundamental Editing Concepts
Probably should have led with this section, honestly. Understanding the language and concepts of video editing provides a foundation for everything that follows.
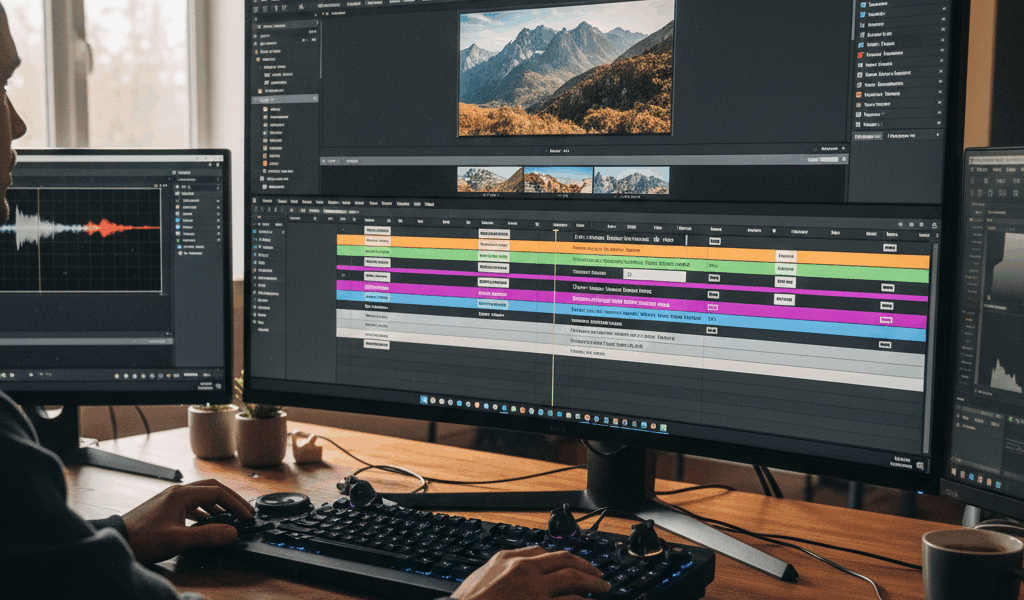
The Timeline
The timeline is where your video comes together. Video clips, audio tracks, text, and effects arranged on the timeline. Learning to navigate efficiently is the first step to faster editing.
Most software allows multiple video and audio tracks stacked vertically. Upper tracks typically appear on top of lower tracks—important when layering footage or graphics.
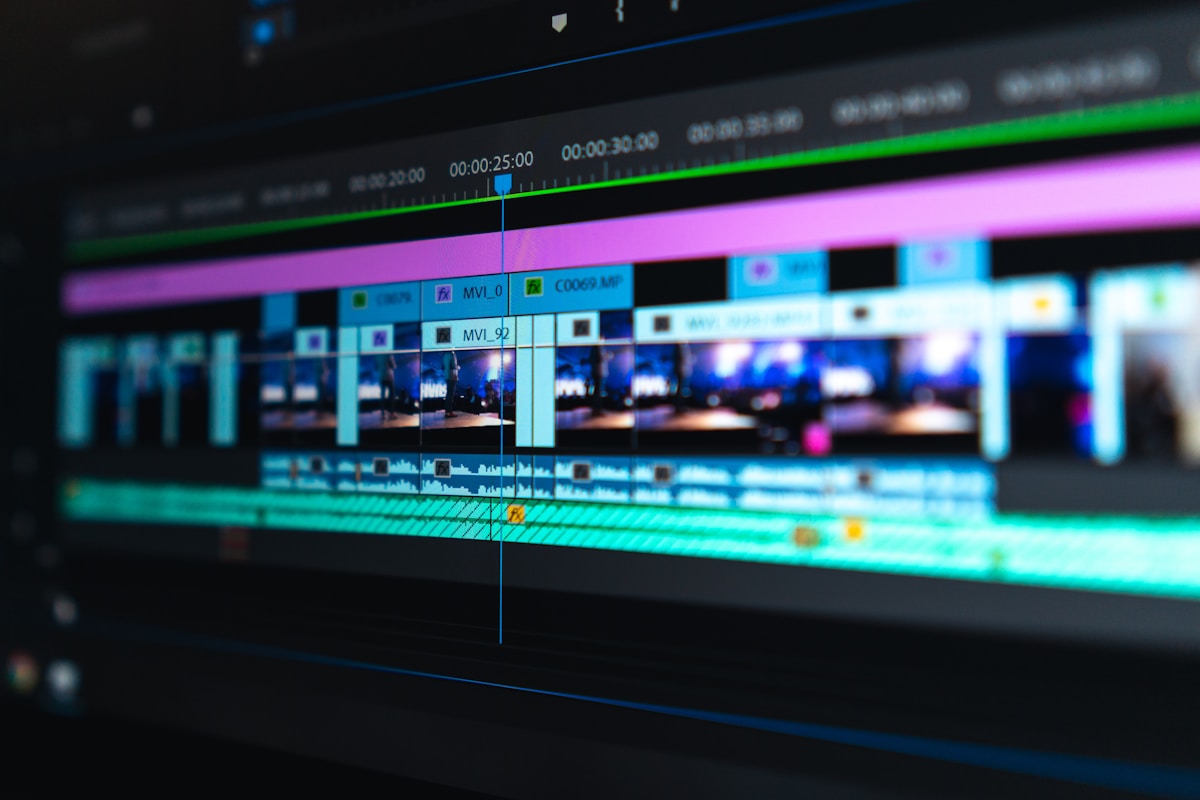
Cuts and Transitions
A cut is the most basic edit—one clip ends and another begins. Hard cuts are the backbone of video editing and work for the vast majority of transitions. The goal is making cuts invisible to viewers so they focus on content rather than technique.
Transitions like dissolves, wipes, and fades should be used intentionally. They indicate passage of time, change of location, or shift in tone. Overusing transitions is a hallmark of amateur editing.
Pacing and Rhythm
Good editing creates rhythm. Fast cuts create energy and urgency. Longer takes allow moments to breathe. Matching your edit rhythm to emotional beats separates good editors from great ones.
Watch your favorite creators with editing in mind. Notice when they cut and why. This active analysis improves your own editing instincts.
Essential Editing Techniques
These techniques form the foundation. Master these before moving to advanced effects.
J-Cuts and L-Cuts
In a J-cut, audio from the next clip starts before the video cuts over. In an L-cut, audio from the current clip continues after the video cuts away. These simple techniques smooth transitions and make edits less jarring.
J-cuts work well transitioning to new scenes—hearing dialogue or ambient sound before seeing the new location creates anticipation. L-cuts help when showing reactions to dialogue.

Jump Cuts
Jump cuts show discontinuous time while maintaining the same subject and angle. Ubiquitous in YouTube content because they remove pauses, mistakes, and dead air.
To execute clean jump cuts, keep your subject centered and maintain consistent lighting. Cut on action or emphasis points rather than randomly. Audio should flow naturally across the cut.
Cutting on Action
Cutting during movement makes edits invisible. If someone is picking up an object, cut mid-motion rather than before or after. The viewer’s eye follows the action across the cut without registering the edit.
Match Cuts
Match cuts connect two different scenes through visual similarity. A classic example is cutting from a spinning coin to a spinning planet. Similar motion links disparate content and creates visual poetry.
Working with Audio
Audio is half of video. Poor audio ruins even the most visually stunning content, while great audio can carry average visuals.
Audio Levels
Consistent levels prevent viewers from constantly adjusting volume. Dialogue should peak around -6dB to -12dB. Background music typically sits 15-20dB below dialogue.
Use audio meters in your editing software. Many editors normalize all dialogue clips to a standard level before detailed editing.
Music Selection
Music sets emotional tone. Choose tracks that complement rather than compete with visuals and dialogue. Copyright-free libraries like Epidemic Sound, Artlist, and YouTube’s Audio Library provide options for every mood.
Pay attention to song structure. Build sections work for tension, drops create impact moments, softer passages allow dialogue to shine.

Sound Effects
Subtle sound effects add production value without calling attention to themselves. Whooshes on transitions, impacts on text appearance, ambient sounds for B-roll.
The key word is subtle. Overused or poorly chosen effects feel cheap. When in doubt, less is more.
Color Correction and Grading
Color work happens in two stages: correction and grading. Correction fixes technical issues while grading creates visual style.
Color Correction
Color correction ensures footage looks natural and consistent. Adjust exposure, white balance, and contrast so different clips cut together seamlessly. Skin tones should look healthy and whites appear neutral.
Color Grading
Grading is where creative expression enters. Warm, desaturated feels nostalgic. High contrast with lifted blacks creates modern aesthetic. Cool shadows with warm highlights suggests cinematic production.
Develop a consistent grade for your content that becomes part of your visual brand.
Text and Graphics
Text overlays communicate information and add visual interest.
Typography Fundamentals
Font choice matters. Sans-serif fonts work well on screen. Limit yourself to two fonts per project—one for headlines, one for body text.
Ensure text is large enough to read on mobile devices. White text with drop shadow or outline ensures readability over any background.
Animated Text
Static text can feel flat. Simple animations—fade ins, slides, or pops—draw attention without distracting from content.
Sync text animations to audio beats for maximum impact. Text appearing exactly as words are spoken creates satisfying synchronization.
Workflow Optimization
Professional editors develop efficient workflows allowing faster turnaround without sacrificing quality.
Organization
Organize project files before you start editing. Create folders for raw footage, audio, graphics, and exports. Name clips descriptively.
Upfront organization saves hours during editing. Nothing kills flow like searching through unnamed files.
Keyboard Shortcuts
Learn keyboard shortcuts for your editing software. Essential shortcuts include cut, paste, ripple delete, and timeline navigation.
Most software allows custom shortcuts. Map frequently used functions to easy-to-reach keys.
Proxy Editing
If your computer struggles with high-resolution footage, use proxies. Proxies are lower-resolution copies that edit smoothly. Software automatically reconnects to original files for export.
Platform-Specific Considerations
Each platform has optimal specifications and viewer expectations.
TikTok
TikTok favors fast-paced editing with frequent cuts. Native text effects and transitions perform well algorithmically. Export in 9:16 vertical format at 1080×1920 minimum.
YouTube Shorts
YouTube Shorts allows content up to 60 seconds in 9:16 vertical format. Algorithm favors content performing well in first few hours.
Instagram Reels
Reels support multiple aspect ratios but 9:16 performs best. Instagram’s native editing tools can boost reach, so consider adding final touches within the app.
Conclusion
Video editing improves with practice. Start with fundamentals—clean cuts, balanced audio, readable text—and add advanced techniques as needed.
Every video teaches you something new. Develop a critical eye by watching your content after time has passed. You’ll notice things you missed that can improve your next project.
The goal of editing is to serve the content. Technical perfection matters less than emotional impact. If viewers feel something watching your video, you’ve succeeded.


Stay in the loop
Get the latest wildlife research and conservation news delivered to your inbox.