Video Recording with OBS: Quick Star advice has gotten complicated with all the outdated tips and platform changes flying around. Here’s what actually works in 2026.
Recording with OBS: Quick Start Guide
OBS is free, powerful, and confusing at first. Here’s how to actually use it.
Download and Install
Get it from obsproject.com. Run the auto-configuration wizard when you first open it – it sets reasonable defaults based on your system.
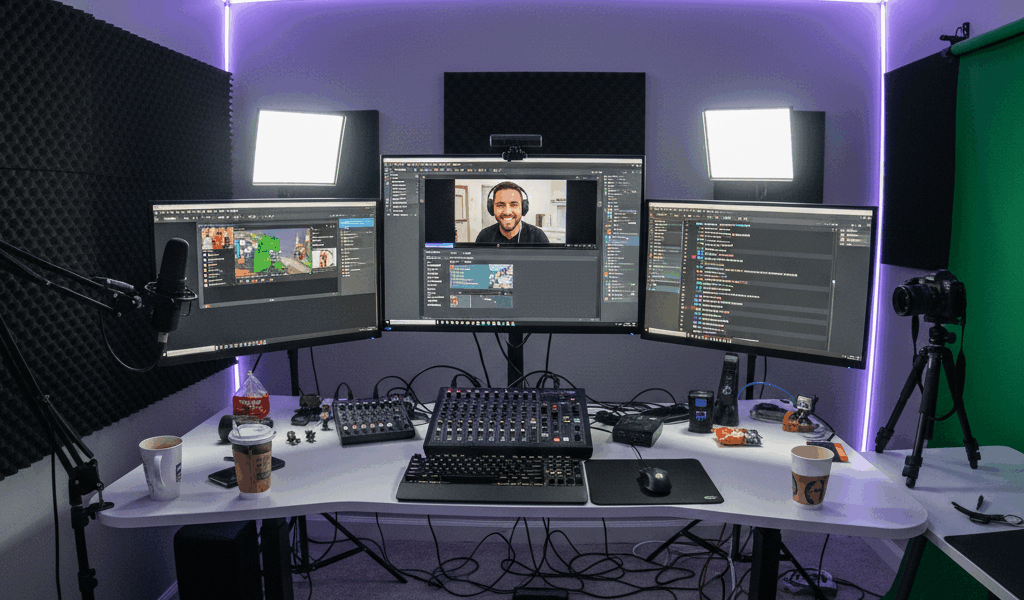
The Interface
Scenes: Different layouts you can switch between.
Sources: What you’re capturing – screen, window, webcam, etc.
Audio Mixer: Volume controls for different inputs.
For basic recording, you only need one scene with a few sources.
Adding Sources
Click + in the Sources panel.
Display Capture: Records your entire screen. Simplest option.
Window Capture: Records one specific application.
Game Capture: Hooks directly into games. More efficient.
Video Capture Device: Your webcam.
Layer sources by dragging them up/down in the list. Higher = on top.
Audio Setup
OBS captures system audio by default. Add your mic as Audio Input Capture if needed. Check levels in the mixer – green is good, red means clipping.
Settings That Matter
Go to Settings → Output. Set Recording Path to a folder with space. Choose MKV format (more stable for long recordings). Set quality to High or Indistinguishable.
Settings → Video. Base Resolution is your screen. Output Resolution can be lower for smaller files.
Recording
Hit Start Recording. Do your thing. Hit Stop Recording. File saves to the path you set.
Common Problems
Black screen? Try running OBS as administrator or re-adding the source.
Choppy? Lower output resolution or close other programs.
No audio? Check mixer levels and make sure sources aren’t muted.


Stay in the loop
Get the latest wildlife research and conservation news delivered to your inbox.